Emulating Haiku in Proxmox
Proxmox Virtual Environment is an open source server virtualization management solution based on QEMU/KVM and LXC. You can manage virtual machines, containers, highly available clusters, storage and networks with an integrated, easy-to-use web interface or via CLI.
This guide assumes that you’ve already downloaded Proxmox VE from their website, installed it on your machine, and have downloaded the ISO for Haiku you would like to install.
Uploading the Haiku ISO to Proxmox
Login to your Proxmox installation via the GUI and go to the storage device where you will store ISOs (’local(pve)’ in my case), select ISO Images, and Upload.
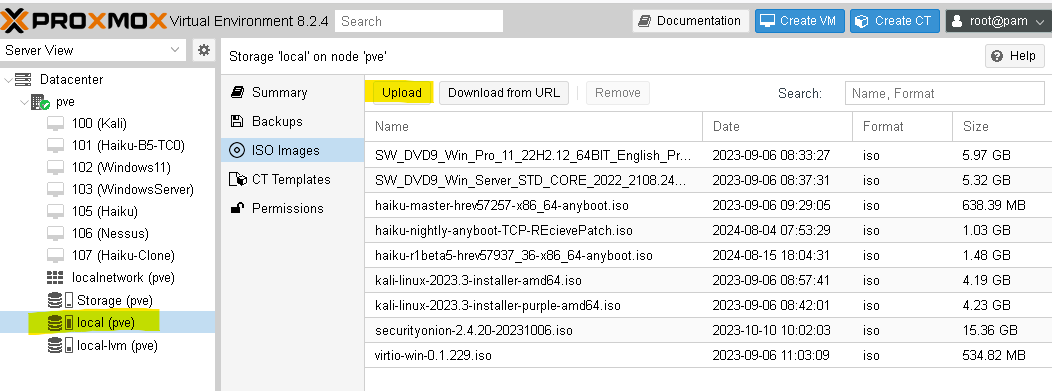
Browse to the Haiku ISO you had pre-downloaded and finish uploading.
Creating a virtual machine
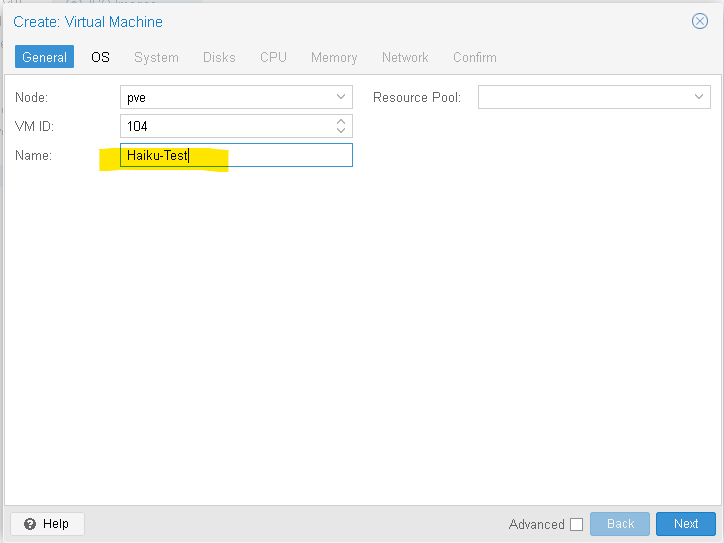
On the main Proxmox screen, choose Create VM. In the General tab give the Haiku VM a name.
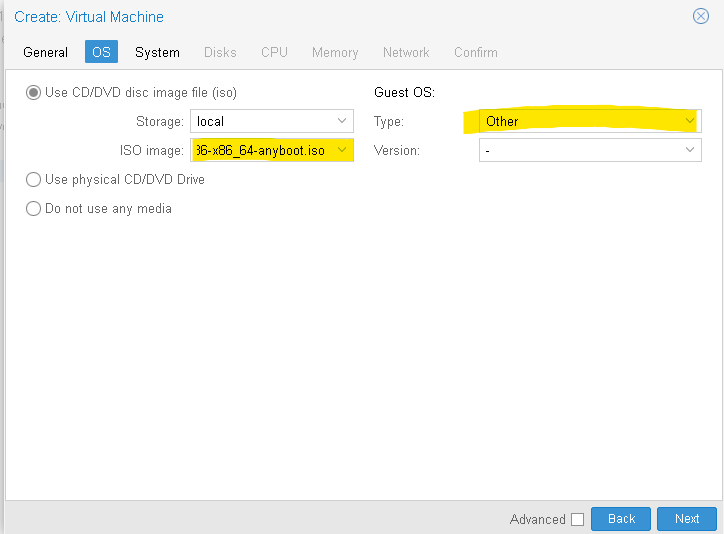
Click Next to the OS tab. Select the Haiku ISO from the dropdown menu and change the ‘Guest OS Type’ to Other.
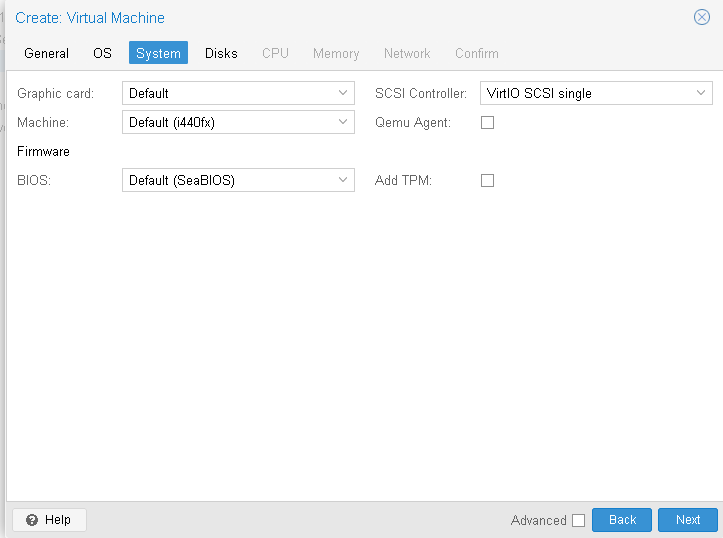
Click Next to the System tab. Defaults work here.
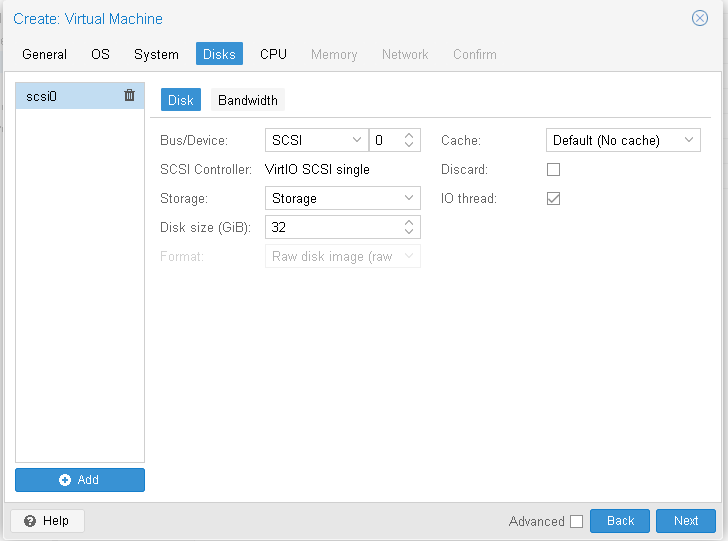
Click Next to the Disks tab. Set the size of the virtual disk you would like for Haiku to have. You can also add additional disks if desired.
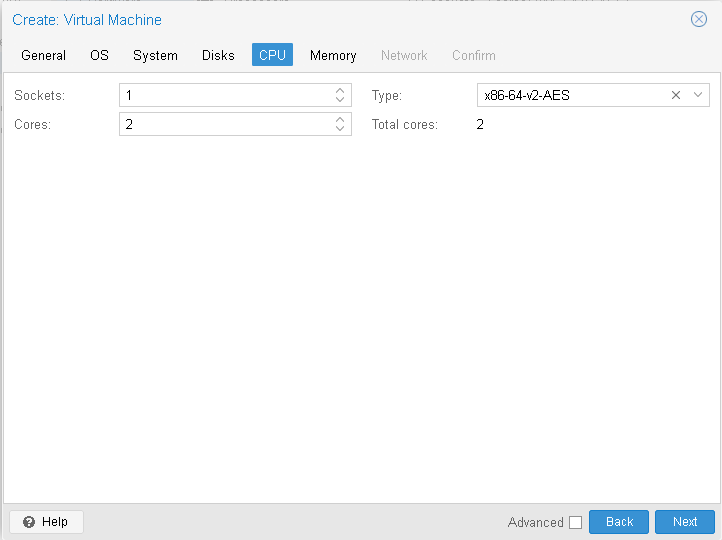
Click Next to the CPU tab. Assign the CPU configuration that you would like Haiku to have.
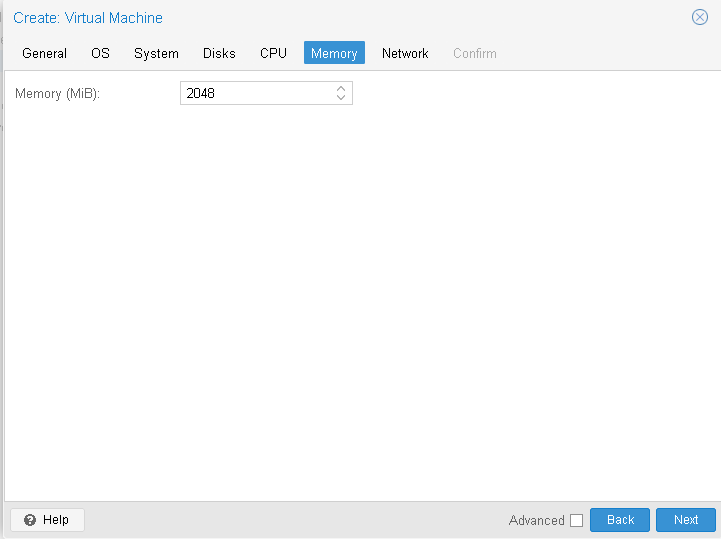
Click Next to the Memory tab. Assign the amount of memory you would like Haiku to have.
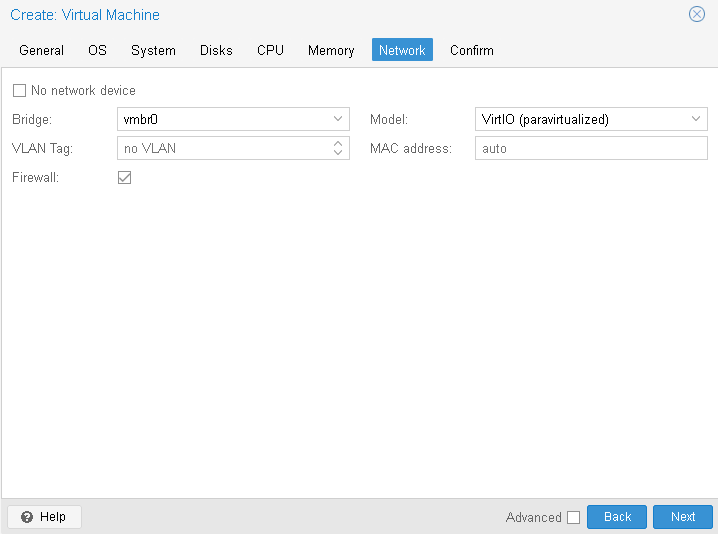
Click Next to the Network tab. Select the Model of network interface card (NIC) you would like to use. The default of VirtIO works.
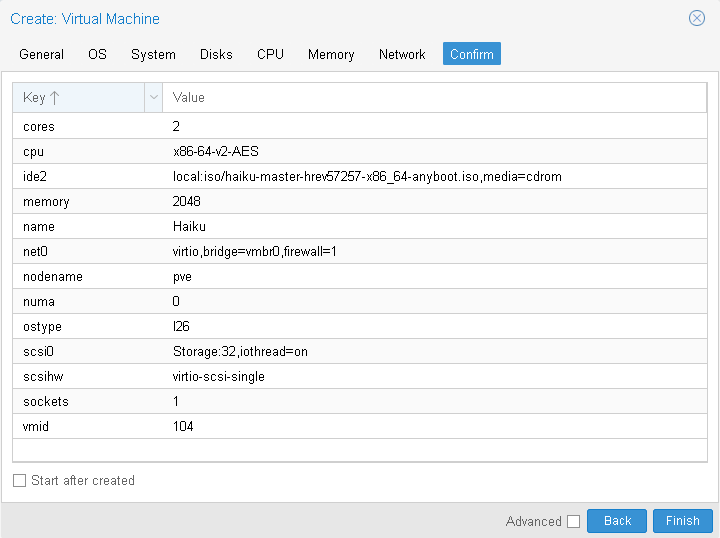
Click Next to the Confirm tab. Review the configuration and select Finish to complete the creation of your Haiku VM.
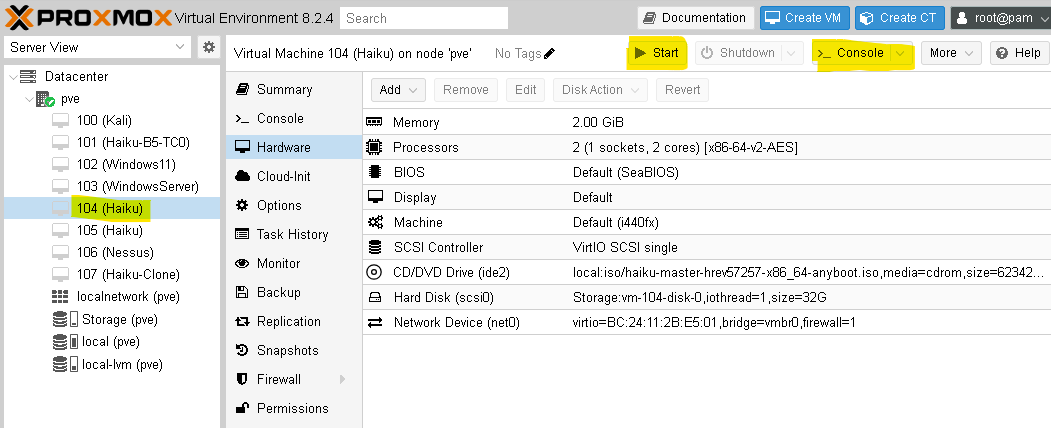
After completing the wizard, move to the Virtual Machines list. Your Haiku machine should now be listed. Select it and press Start, then click ‘Console’ button to bring up a window to your VM. If you see the Haiku boot screen, then you configured everything correctly. You can now proceed to install Haiku or try out the live environment.
Installing Haiku
Before finally installing Haiku, you need to partition the virtual hard drive. Open the Haiku Installer and click on Set up partitions… end.
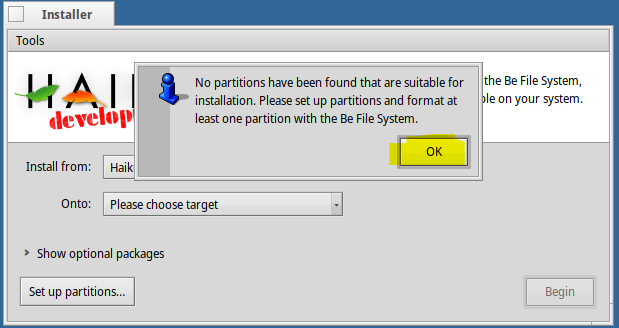
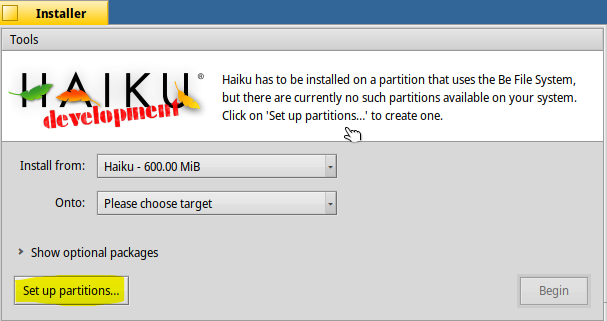
Select the disk we added earlier where Haiku should be installed (‘QEMU QEMU HARDDISK’ in my case). Right-click, Format, and choose ‘Be File System’.
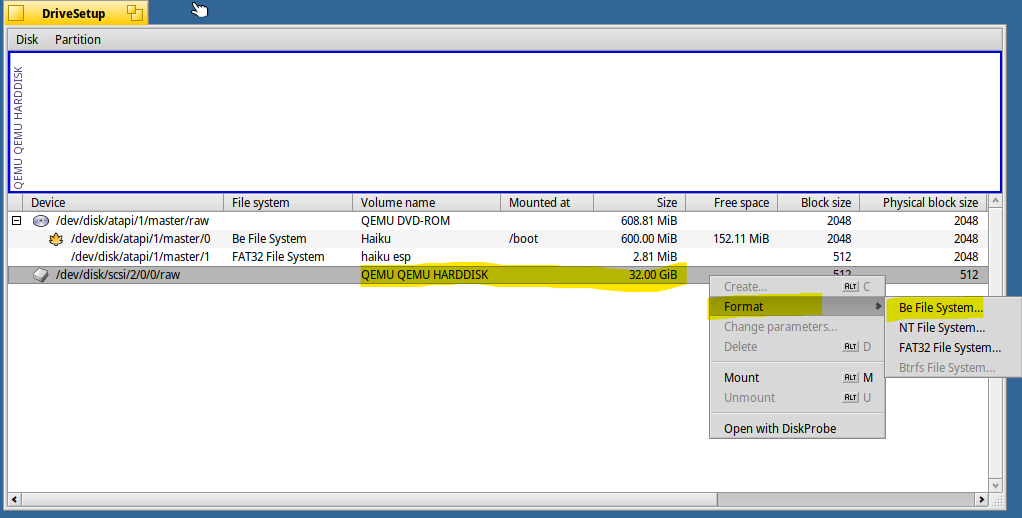
Confirm that you want format this disk, click Format, and ‘Write changes’. WARNING: this will overwrite all data on this particular drive.
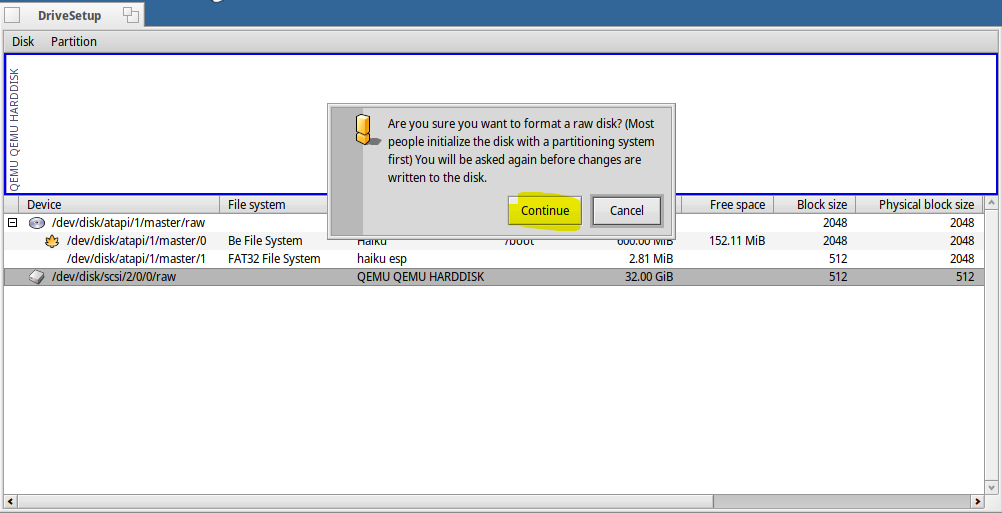
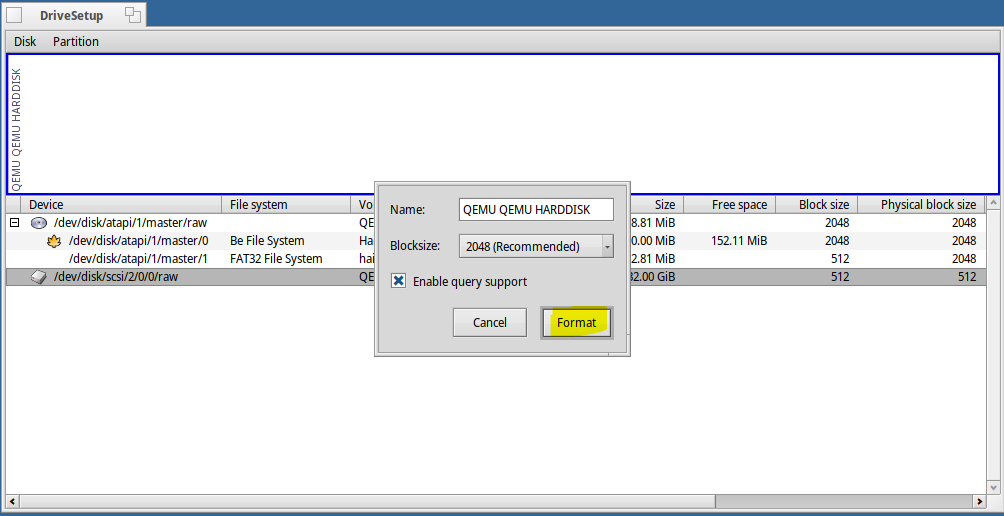
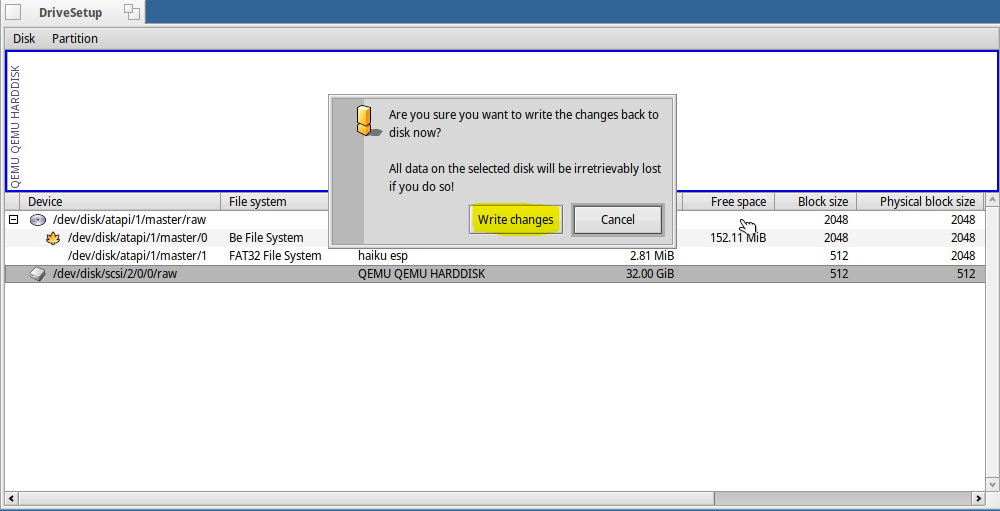
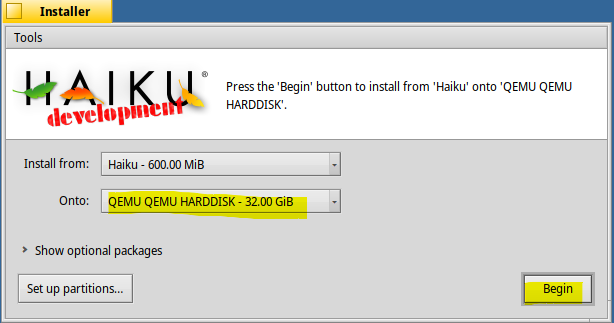
After this you can close Drive Setup to go back to the installer, choose the freshly formatted disk from the drop down menu and click Begin.
Once done installing simply click reboot. It should automatically reboot into your new installation. Congratulations! You now have a fully working Haiku VM.


